August 12, 2013
When it comes to choosing mesh for a project, it is important to consider what you are printing and the type of ink you are using.
Here is a simple guide that will help in choosing the right mesh counts for the right job:
Mesh Count: 25, 40
Usage: Glitter Inks
Mesh Count: 60, 86
Usage: Specialty inks, such as puff or high-density, fine shimmers, glitters or metallics
Mesh Count: 110, 155
Usage: Use where a large deposit of ink is needed, such as athletic numbers, printing white on black fabric, low-detail art or heavy white ink
Mesh Count: 160, 180, 200
Usage: Good for printing underbase white to create a softer overall feel, good medium-sized mesh count for medium-detailed artwork. The 200-count mesh can be a happy medium screen selection for when a 230 mesh is too fine and a 155 mesh is too coarse.
Mesh Count: 230, 280, 305
Usage: Low ink deposit, works well for halftone printing, simulated process or CMYK process printing
Mesh Count: 355
Usage: Very low ink deposit, generally used by very experienced printers only. Often used for printing 65 line or higher halftones for very detailed images
Printers often ask me whether there is a big difference between thicker and thinner threads when choosing mesh, and what the difference is between dyed and undyed mesh. There are tradeoffs with choosing each variable.
First, let’s look at thick versus thin thread. I’m not talking about mesh count here, but rather the thickness of the strand itself that makes up the mesh fabric, regardless of mesh count. Typically, mesh with a thinner thread will cost more and may be more difficult to find since the thinner thread results in larger mesh openings. Why is this important? The larger mesh opening greatly improves the printability of any given ink, since more ink can flow through. This allows for more detailed printing as well. However, thinner thread may also mean the mesh is less durable and can tear easier.
Thicker thread generally is more durable, but results in smaller mesh opening and less detailed printing. That’s the tradeoff. However, there are some tricks you can employ to still get good results with thicker thread. For example, stretching the mesh to its optimum tension can greatly widen the mesh opening, thus improving ink flow. Of course, good tension also benefits mesh with thinner thread.
Other benefits to improved ink flow are that it can reduce the necessary off-contact needed, thus reducing the required squeegee pressure. A good compromise is to choose a mid-range thread thickness, which is a good compromise between mesh durability and mesh opening.
Let’s move on to the differences between un-dyed and dyed mesh. Un-dyed, also referred to as white mesh, is actually clear. Typically, it has larger mesh openings. The clear mesh threads allow more light to come through, resulting in shorter exposure times. The larger mesh openings also lead to fewer details transferred from the design. Think of it as fiber optics that let light travel through the mesh.
Dyed mesh typically has smaller mesh openings, allowing for more detailed design transfer. The dye in the mesh helps stop the light from bouncing through the mesh, thus requiring a longer exposure time. New screen printers may find that the longer exposure time required with dyed mesh allows them to control the exposure process easier.
Kieth Stevens is the Western regional sales manager for International Coatings. He has been teaching screen printing for more than 10 years and is a regular contributor to International Coatings’ blogs. For more information, visit iccink.com and read the company’s blog at internationalcoatingsblog.com.
March 20, 2024 | Production
As with pretty much any business, one of the keys for apparel and T-shirt decorators running a successful custom screen-printing shop is having the right equipment, first and foremost, the right press, or presses.
FULL STORY
March 15, 2024 | Production
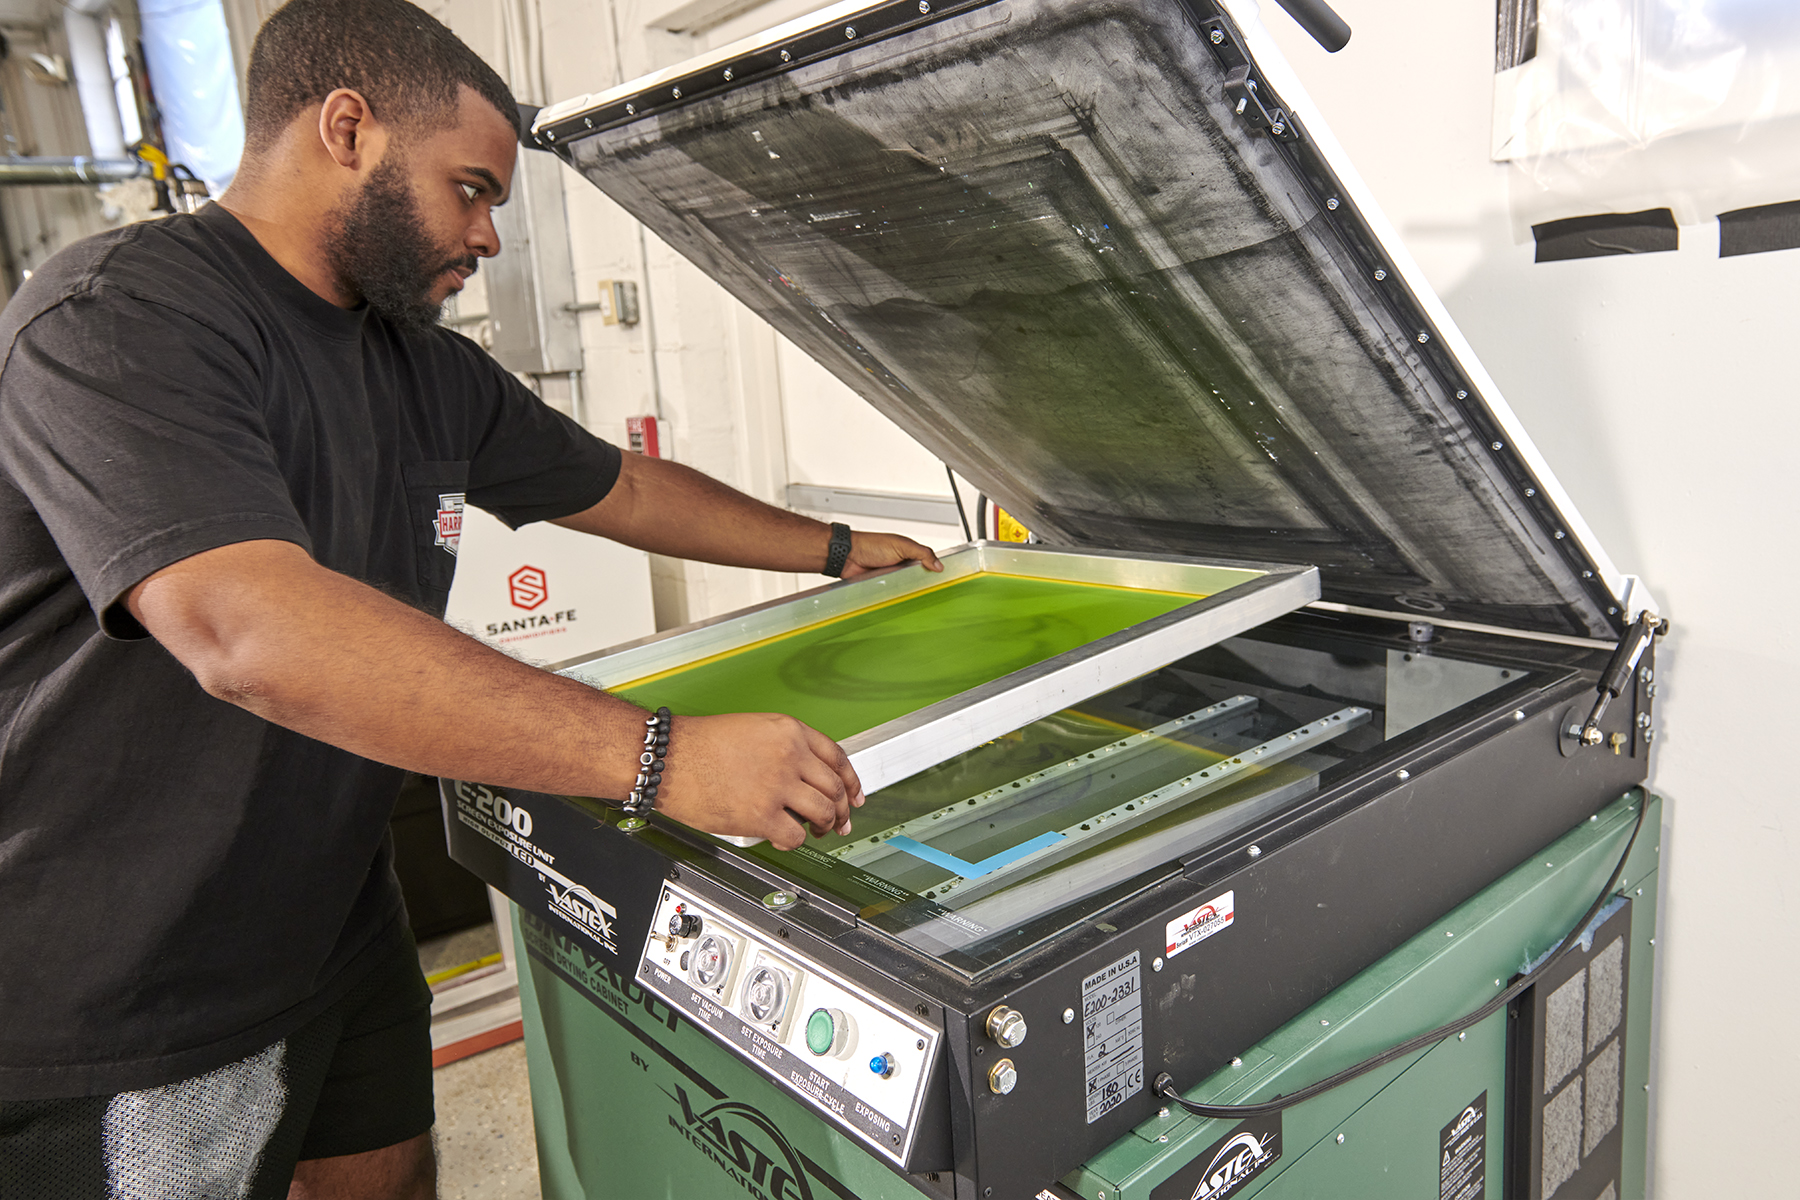
As is the case with flash units and dryers, screen exposure units, computer-to-screen-systems and washout booths are critical to successful screen printing of T-shirts and other apparel
FULL STORY
January 16, 2024 | Production
Go to any industry trade show or visit an actual custom apparel screen-printing shop, and your eyes will naturally be drawn to the press, or presses there. This is true whether the shop in question employs a single manual press or is running multiple autos.
FULL STORY