5 Crucial Steps to Starting Out in Embroidery
It’s time to start making an income from your creativity and your embroidery machine. The following five steps are critical to ultimate business success
FULL STORY

You’ve probably heard it before, but the following old adage always rings true: Change is the only constant you can count on. The technical revolution has not only made information available, but it also has fundamentally changed the way we live.
We don’t get “snail mail,” watch television or go to bricks-and-mortar stores as much anymore. Instead, we send text messages, stream movies and shop online. If you don’t adapt, it’s harder to function in modern society. I recently had to mail an invoice to someone and was trying to remember the last time I had done that. The concept and actual practice seem so foreign now.
In business, if your customers find you behind the times, they may not be as inclined to do business with you. This goes beyond just payment systems or a web presence; it also can refer to your product offerings. Staying updated by offering current styles is imperative in our business. We also must be up to date on garment-decorating techniques and trends.
Many of the product lines that we previously never thought would change have been revised with new fabrics and dye processes. One example of this is fleecewear. The sweat shirts of the past were big and thick. Hoodies were only worn when training or working out (think Rocky Balboa), and they came in a handful of colors, most notably grey. To decorate them, embroiderers would simply slap a piece of heavy cutaway behind them and sew.
Now, we are seeing fleece become part of a larger fashion statement. It is available in every style and color under the rainbow, and has gotten thinner, too.
As styles have changed, fleece has become less about warmth. Performance knit materials are used in many fleecewear options, which now include the garment-dyed and burnout varieties. Weights also have changed; they have gone from being made of heavy cotton in the 7.5- to 9-ounce, range, to being constructed of thin and light materials. Many are in the T-shirt weight range of 6-6.5 ounces.
The construction of today’s fleecewear has a bearing on how we approach embroidering it. The standard heavy cutaway stabilizer often is too thick and will show through the thin material. However, fleece is stretchier than ever before, so it needs the additional stabilization.
Fortunately, many of the issues embroiderers face when working with fleece are the same as the now-established line of performance knit golf shirts and tees. The difference is that designs tend to be larger on fleecewear, instead of being limted to left-chest and sleeve placements.
1. Get the Right Backing
As with any garment, choosing the right backing to stabilize it is important. Newer fleece styles have more stretch than ever and are thinner. This means they need stabilization. However, a thick cutaway backing may create an impression through the fabric. For situations like this, it is best to use two or three pieces of tearaway backing.
Better yet, use a no-show mesh cutaway backing. Its sheer nature keeps it from showing through the front, yet it has the stability of a cutaway stabilizer. For denser designs, a combination of tearaway and no-show mesh is preferred. The tearaway adds stability. Just be sure to put it on the bottom to make removal easier.
2. Don’t Pull It
Because of the increased stretch and thin nature of some newer fleece garments, more care is required during hooping. The good rule of thumb when it comes to stretchy knit materials certainly applies: Don’t pull on the garment after it is hooped. Knits stretch easily and more horizontally than vertically. This stretch will distort your design once it is released from the hoop and returns to its relaxed condition.
It is better to keep the hoop a little looser while the garment is being hooped, and then tighten it once it is in the hoop. That way, it can be gently pulled to remove wrinkles without stretching the fabric.
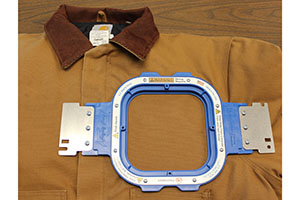
3. Heel to Toe
Another way to avoid stretching the garment while hooping it is to press the bottom of the hoop into the outer ring first, then align and tug to get everything straight and smooth before pressing the top of the hoop into place.
This is a good general technique. It is more important when hooping stretchy materials to ensure the fabric is smooth, but not too tight, when hooping.
4. Top it Off
Because of fleece’s texture, it’s a good idea to use some sort of topping material. This product assists the design’s underlay in preventing the stitches from sinking into the fabric. Fleece garments tend to have fuzzy surfaces. Topping helps keep this under control by holding the surface down until the underlay and top stitches make it flat.
5. Don’t Wander Too Far
Whenever you are creating large designs, such as those that would typically go on sweat shirts, it is best to work in sections rather than sewing the entire design at one time. This may mean outlining a section or letter first. This approach is particularly useful on stretchy materials. Over a large area, a slight shift or stretch will mean your outline may not be aligned in certain areas.
This also is true for appliqués. For instance, you should sew appliquéd words one letter at a time rather than trying to put the placement line down for all the letters at once. Using the latter method, the chances of the registration being off by the end of the word would be a lot higher because you would be attempting to cover a large area.
6. Make it Match
With all the emphasis on newer fleecewear styles, it makes sense to match the embroidery style with the garment.
Today’s fleecewear tends to have a weathered look. Putting a crisp, high-tech-looking design on a garment could present a stark contrast and out-of-place look.
Using tone-on-tone thread colors, or even creating a retro-looking design, would be a better option. On bigger items, consider raw-edge appliqué, which requires less precision than regular appliqué, and you can use an existing design.
To do raw-edge appliqué, simply sew the placement line as you would with a normal appliqué. The difference is that you then cut the material slightly larger than the placement line. In many cases, you don’t need to do a full satin-stitch border on the appliqué material, just a running-stitch tack down. The exposed edge of the fabric will fray over time (you can aid in the process if you would like), creating the weathered look that matches the garment.
Time marches on and so do styles. Our job as apparel decorators is to keep up and adapt with what we offer. Going beyond that to enhance the garments can create an even more positive outcome for our customers, and that’s what keeps them coming back.
Steven Batts, a consultant with more than 20 years experience in the embroidery industry, owns Righteous Threads, Greensboro, N.C., which offers digitizing, embroidery and machine maintenance services. He regularly leads seminars at ISS shows and is an industry speaker and consultant. For more information or to comment on this article, email Steven at righteousthreads@gmail.com.
Suggested Reading
Like this article? Read these and other embroidery articles at
impressionsmag.com:
• “How to Embroider on Denim”
• “Needle Knowledge Enables Easier Embroidery”
• “Tips for Easy Embroidery on Thick Items”
It’s time to start making an income from your creativity and your embroidery machine. The following five steps are critical to ultimate business success
FULL STORYWhile embroidered and woven patches have similarities, there are differences to be aware of when choosing the best one for your particular decorated apparel application.
FULL STORY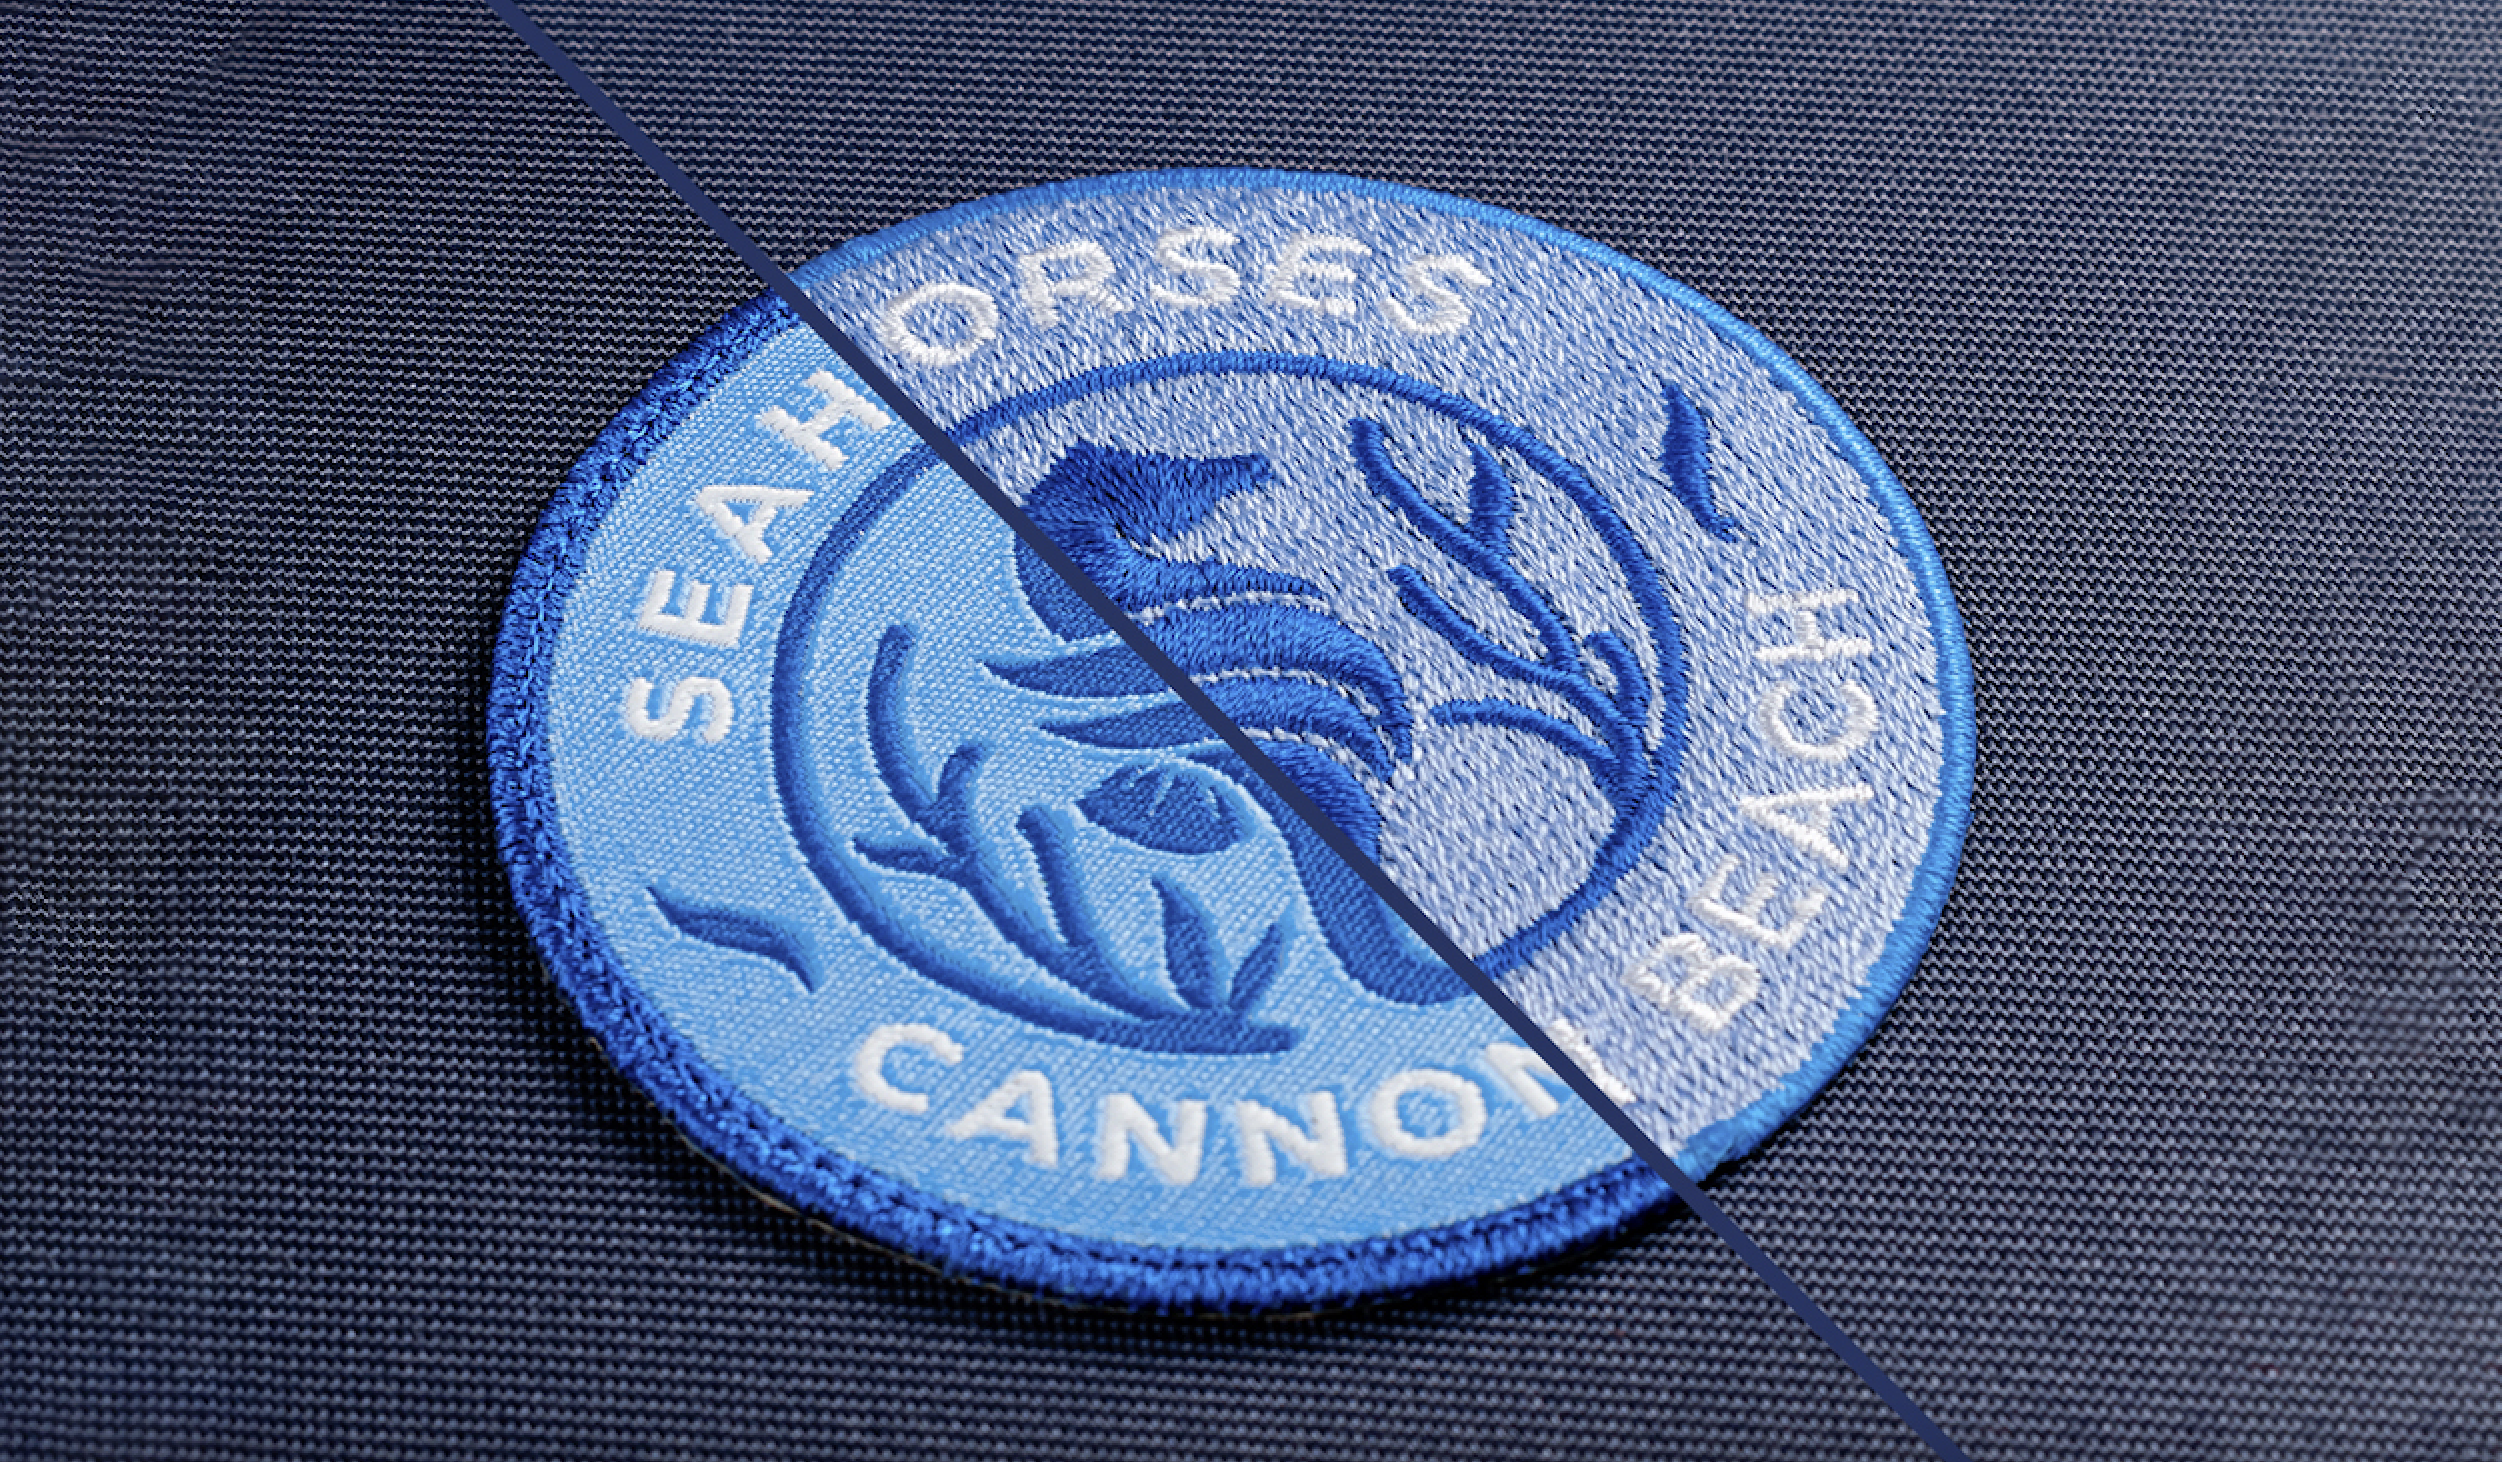
When the weather is warm, savvy embroiderers turn their thoughts to jackets and gear up to make some masterpieces. Wait… what??
FULL STORY