5 Crucial Steps to Starting Out in Embroidery
It’s time to start making an income from your creativity and your embroidery machine. The following five steps are critical to ultimate business success
FULL STORY

All habits — both good and bad —become magnified when expanding from operating singlehead embroidery equipment to a multihead configuration. Suddenly time, space and materials are more precious, making everything from work orders and shop layout subject to scrutiny.
Running multihead machines requires more planning and organization, but completing sewouts six or 12 garments in a single bound is the reward. Let’s look at important things you must consider when working in a multihead operation.
SHOP LAYOUT
Modern multihead embroidery shop layout is based on teamwork. Twenty or 30 years ago, shops often were configured so that machines faced each other and a hooping table was placed in between. In this scenario, each operator used “her” side of the hooping table and operated her own machine — usually a 12-head model.
In the late 1990s and early 2000s, order sizes for corporate and ready-to-wear customized apparel became smaller and were placed closer to the time they were needed. This just-in-time ordering is connected to a change for the better in multihead shop layouts.
It was no longer as effective to assign an operator to an individual machine, so the team concept became more popular.
Multihead machines were no longer arranged with a hooping table between them. Because it impeded the flow of operators among the machines, the hooping table was moved to a central location at the head of a U-shape arrangement or incorporated into an L-shape.
This layout allows an operator to thread, load and repair thread breaks on any machine that is stopped, rather than only the one to which that person is “assigned.” Laying appliqués takes half the time when two operators share the task and jobs can be set up in a fraction of the time. The more open team layout also makes it easy to move materials within the embroidery area.
PERSONNEL & TRAINING
Training in a multihead shop is different than that of a singlehead embroidery operation. (Editor’s note: See “Training for the Large Shop” and “Training for the Small Shop,” at impressionsmag.com.)
Some people may be more well-suited to singlehead machines over multihead machines, or vice versa. Regardless, any embroiderer needs to be a good multi-tasker who pays attention to detail. Multihead operators also must be a bit more active and do more repetitive tasks.
I like to pair the trainee with an experienced multihead operator. It helps to build the kind of teamwork from the beginning that will become rhythmic and efficient within the work pod.
RECEIVING & INSPECTION
It’s important to efficiently receive, count and inspect blank goods for correct size, style, color and quality. You don’t want to get a job set up for a multihead machine and have to stop production because the shirts don’t have pockets or the pockets are sewn crooked.
If manufacturing defects or stains are detected during the receiving process, the items must be returned. By checking early, you may be able to have them replaced and still meet the customer’s deadline.
Because defective items that have been embroidered usually can’t be returned, don’t bypass this step.
Place the inspected items in a staging area. This is similar to a holding area, where the goods “hang out” until all components are available, including thread, digitizing, garments, stabilizer and any other special items.
The staging area makes it easy to find a contingent order if an existing one must be pulled from a machine or gets cancelled. Work orders should be displayed inside a clear job jacket and travel with the goods throughout production.
SCHEDULING
In the staging area, items awaiting embroidery are arranged according to the schedule. For shops in which I managed production, I designed a schedule planner. All orders were entered in it, including time estimates for each job. After assigning jobs to specific machines, the production hours easily could be totaled, revealing available production time, or whether extra shifts or overtime was needed.
I recommend building a buffer of about 20% into the actual schedule, allowing for machine malfunction, employee absence and other unexpected downtime. This also ensures that the schedule can consistently be met or exceeded, which builds team morale.
Anticipation is required to effectively transition from one job to the next. Can some thread colors be changed before the end of the current job? It’s not correct to say that being efficient is more important on a multihead machine than on a singlehead because the latter represents 100% of your production. Still, there is a higher cost and reward at stake with multihead equipment, so anticipation pays off in time savings at the setup stage.
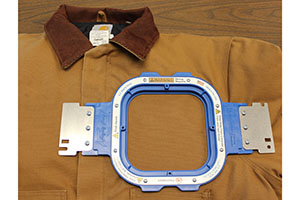
The pre-production stitch out should be alongside the order, proper hoops should be pulled and the appropriate stabilizers should be cut. For multihead shops, I recommend keeping three hoops per head in its most-used hoop sizes, such as for left-chest embroidery. If a hoop breaks, you still have at least two hoops per head. Also, at the beginning of a job, hoop all three sets. This way, if an interruption prevents hooping the next run completely, you have a “draw” pile.
Efficiency at the machine can be one of the most enjoyable areas of production. Some people don’t think it sounds like fun to embroider 200 quantities of the same thing, but I suggest trying it on a multihead. I always enjoyed seeing how I could gain efficiencies at the machine. Even something small — such as hooping the entire next run by the end of the third color instead of the fourth — was fun.
Anyone who has ever enjoyed production knows what I’m talking about. It’s a game, but a satisfying and worthwhile one.
FINISHING
Some shops require the embroidery machine operators to do the finishing and inspection. For space, productivity and focus reasons, this generally isn’t a great system. Still, whether it’s practical depends on the type of work.
Generally, it’s best to have a finishing area set up specifically for trimming, folding, bagging and so on. Have two people sign off on each order. The second person may do a spot check only, but it’s good to have two sets of eyes on each completed job.
A high-quality multihead production shop should have a wastage rate of about 1%. When I was managing production, the allowable wastage rate on contract embroidery was 2%. There was a line in the inspection section of each work order for the number of “seconds” produced in the order and how many were “wasted,” meaning they were undeliverable. When properly managed, tracking wastage provides a barometer of the skill — and even the morale — in a multihead shop.
Procedures used in singlehead shops may be ineffective or inefficient in multihead shops. Fortunately, the best practices outlined here can be replicated on a smaller scale for singlehead shops. Then, when you decide to move to a multihead, you’ll already have your mojo.
Deborah Jones is a commercial and home embroiderer with more than 30 years experience in the computerized embroidery field. She runs myembroiderymentor.com and regularly speaks at the Imprinted Sportswear Shows (ISS). For more information or to comment on this article, email Deborah at djones@myembroiderymentor.com.
Hear Deborah speak on embroidery topics at the 2015 Imprinted Sportswear Shows (ISS). Individual seminars are just $25 if you pre-register: issshows.com.
Suggested Reading:
Like this article? Read these and other embroidery articles at impressionsmag.com:
It’s time to start making an income from your creativity and your embroidery machine. The following five steps are critical to ultimate business success
FULL STORYWhile embroidered and woven patches have similarities, there are differences to be aware of when choosing the best one for your particular decorated apparel application.
FULL STORY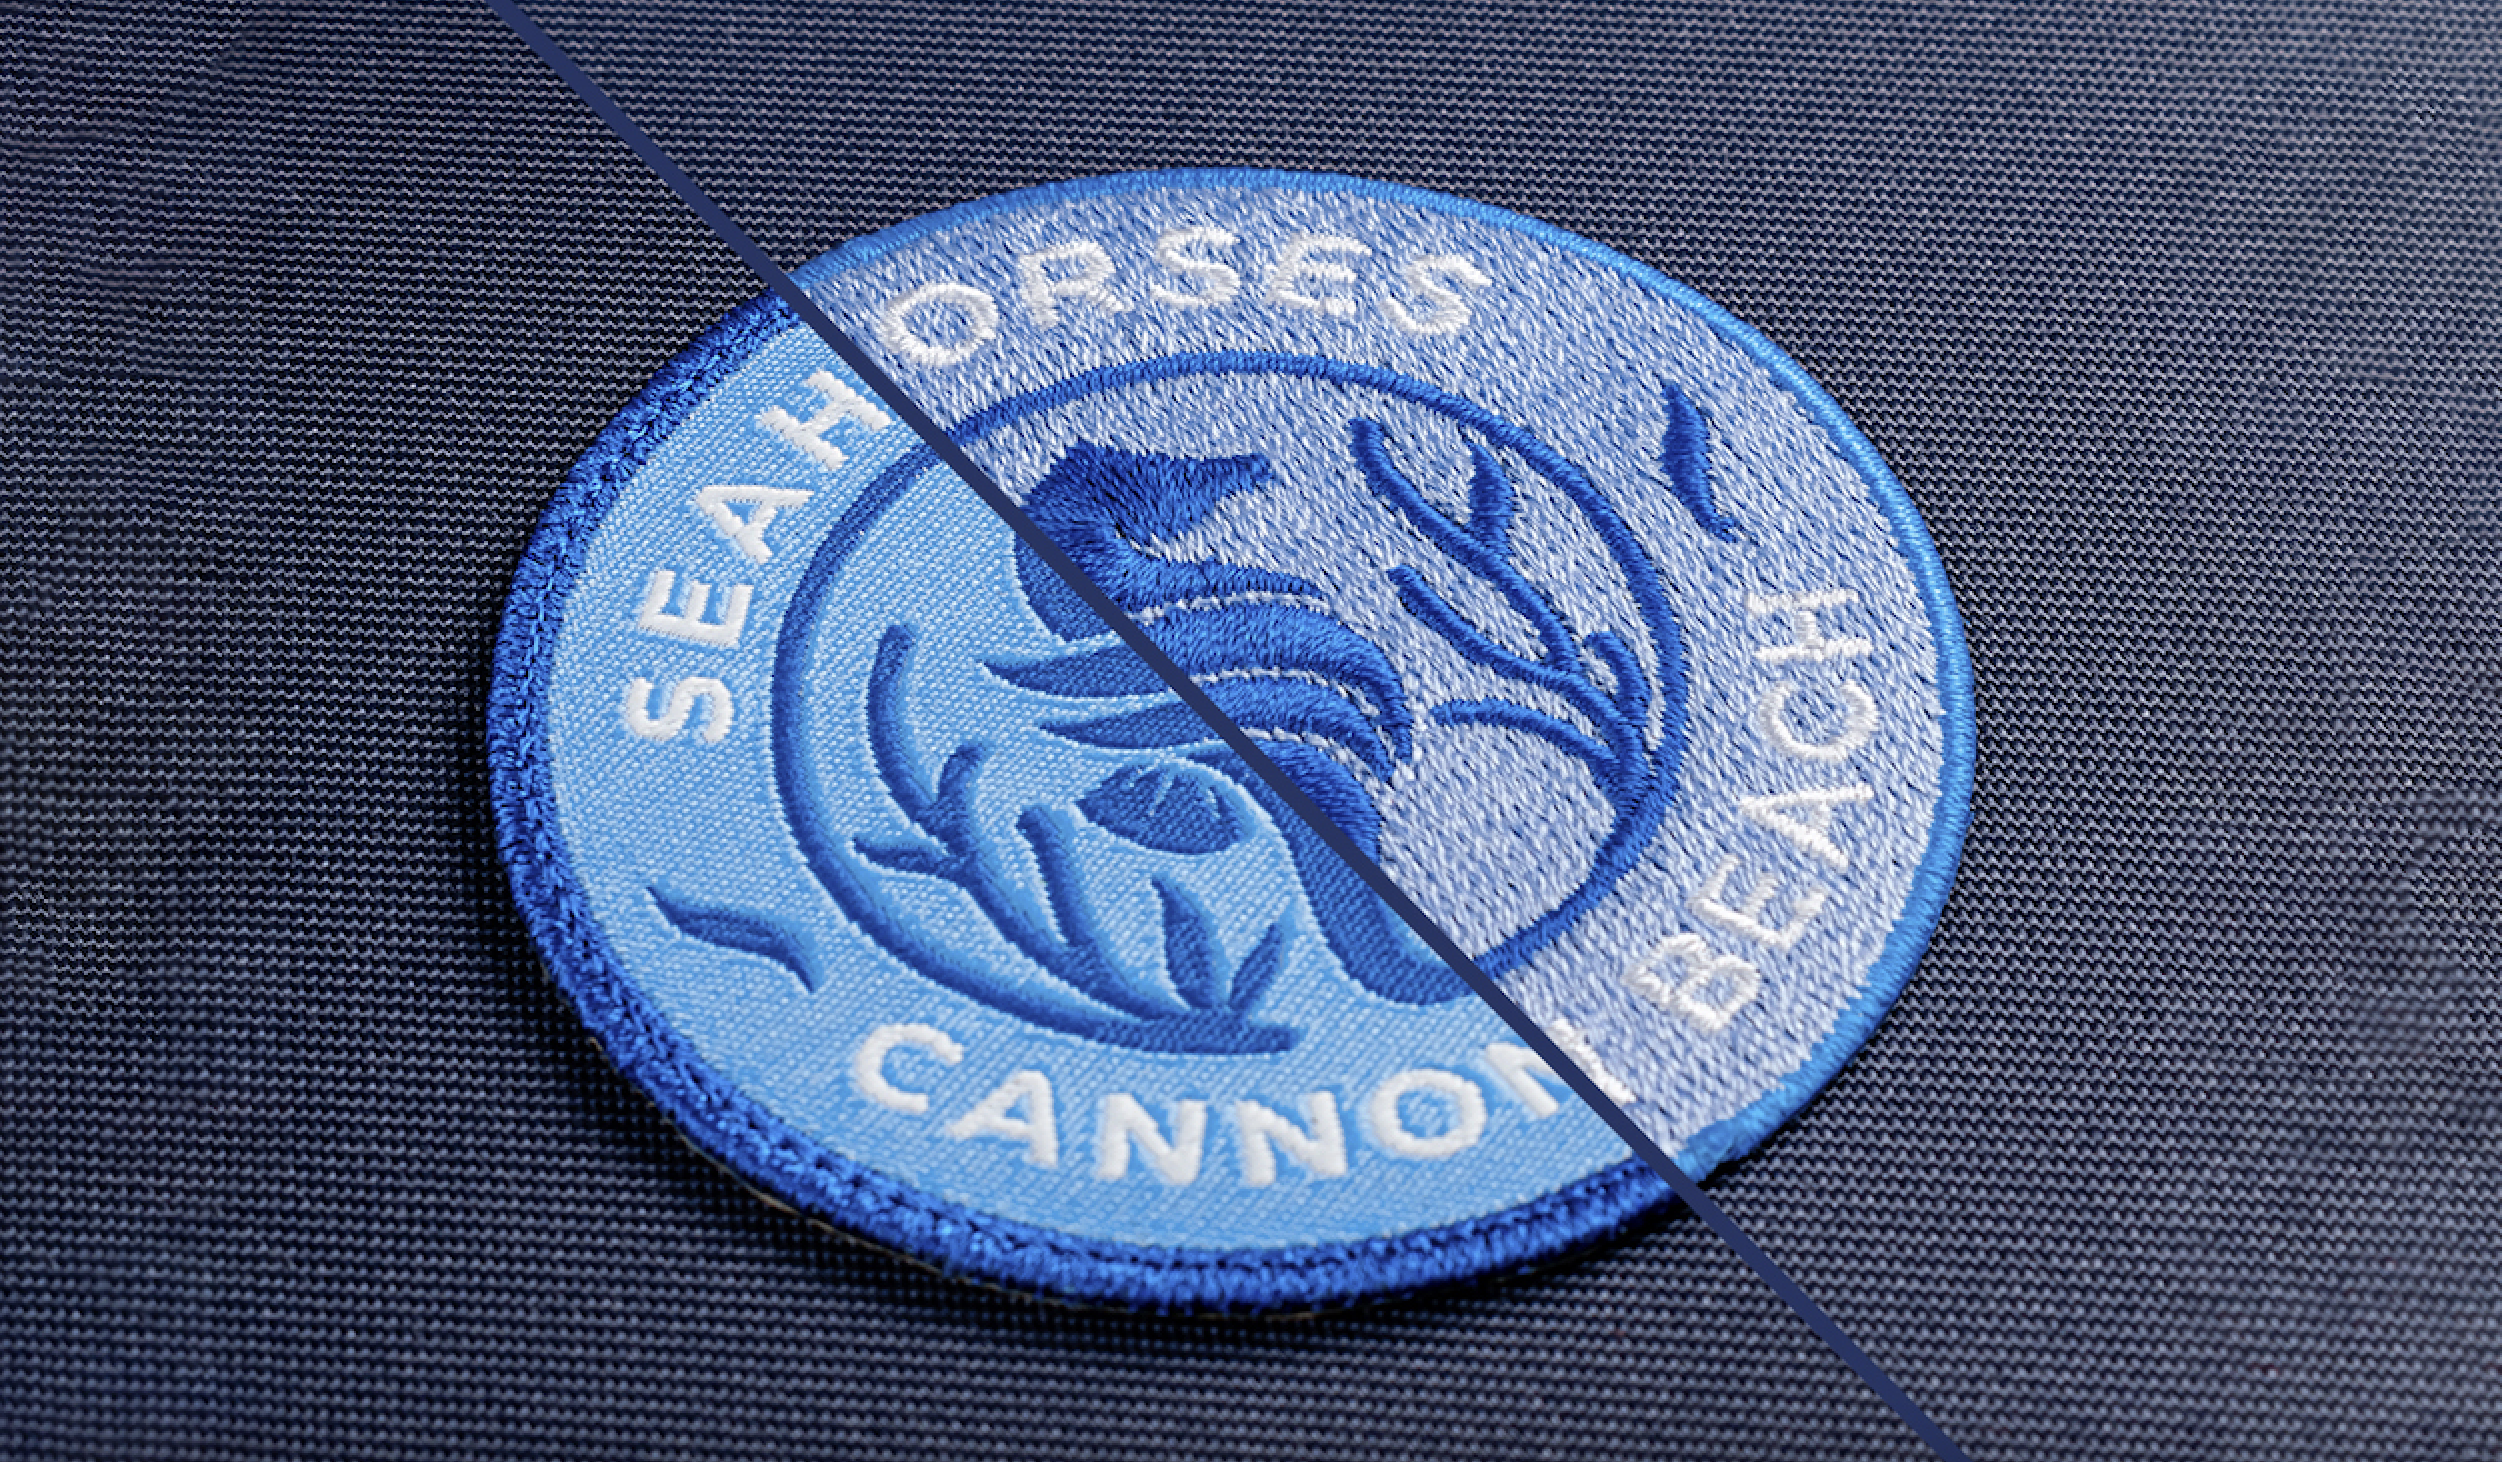
When the weather is warm, savvy embroiderers turn their thoughts to jackets and gear up to make some masterpieces. Wait… what??
FULL STORY